Welcome to my new Blog!
My first post is going to be about the process of transforming this solid wood but out dated buffet table into a stunning fresh Upcycled beauty!
I found this buffet specifically for a customer. She was looking for a buffet that was not "fussy" meaning that I was on the hunt for a clean lined buffet. I found this buffet at a local antique dealer and it fit the bill perfectly. It was in great shape with all working drawers etc. The odd thing about this piece is that it already had a faux finish from the factory. The finish you see is not the wood. It was painted already to make it look like wood without wood grain. A look I have seen before as it was popular a few decades ago.
I knew that we were looking for a stained top on this one and I was curious to see what was under this factory faux finish. So I broke out my ECO-Friendly paint stripper and got to work. Then I waited and waited. Do you see how the picture below has that milky white area? That is when you know that things are starting to work. The top coat was starting to be pulled off of the buffet.
Now you can clearly see that the whole top has that milky finish. A day of waiting and watching and I was ready to get this first layer of gooey stripper off. This is the messiest part.
Notice below that when I used my plastic scraper there was a layer of light brown paint on the wood. Interesting. Be sure to always work in the direction of the wood grain and work with a light hand to be sure not to damage the wood. There was a lot of goop to remove before I decided to strip it one more time.
You can see that much of the goop has been removed below and under it was a beautiful layer of beautiful wood. The only problem was that the customer was looking for a dark top. This top was stained a dark red. Not the black brown I needed. Red is very hard to remove from wood (and hair by the way - been there done that too!). So I wanted to try to remove as much of the red as I could from the wood. So one more day of stripper. Very happy to be able to use an eco-friendly product that is even safe to use in doors, since in the middle of winter in the Mid-West the garage is not a Wendy-friendly place...burrr. So all this work was done in my basement.

While the layers of stripper are doing their work I got to work on the doors and drawers. Below you see the hardware for the doors of the buffet. For me this is a necessary step with theses older pieces. This buffet has a history with these hinges, over the years that have settled into exactly where they want to be, and quite frankly who am I to change that relationship. So here is what I do: Grab my sharpie and mark the inside of the hardware so that I am sure they all get back in exactly the same spot from which they came. Believe me, it may seem like a silly step but it will save you a ton of headaches and stripped screws down the road when you reassemble the doors.

I also did a quick sand to the drawers preparing them for paint. The paint manufacturer I use tells me that I do not need to sand using chalk paint. That may be true for some pieces but this piece needed to meet the sand block before paint as the finish was too shiny for my comfort level. It is also worth noting that chalk paint is very ego-friendly as it has no VOCs, which again is great for painting indoors!
Notice how this stripper looks different once it is ready to remove? There are no milky white areas because the top coat has already been removed along with the light tan paint. The color turned from orange to brown...as it removed the stain. Exactly what we wanted.

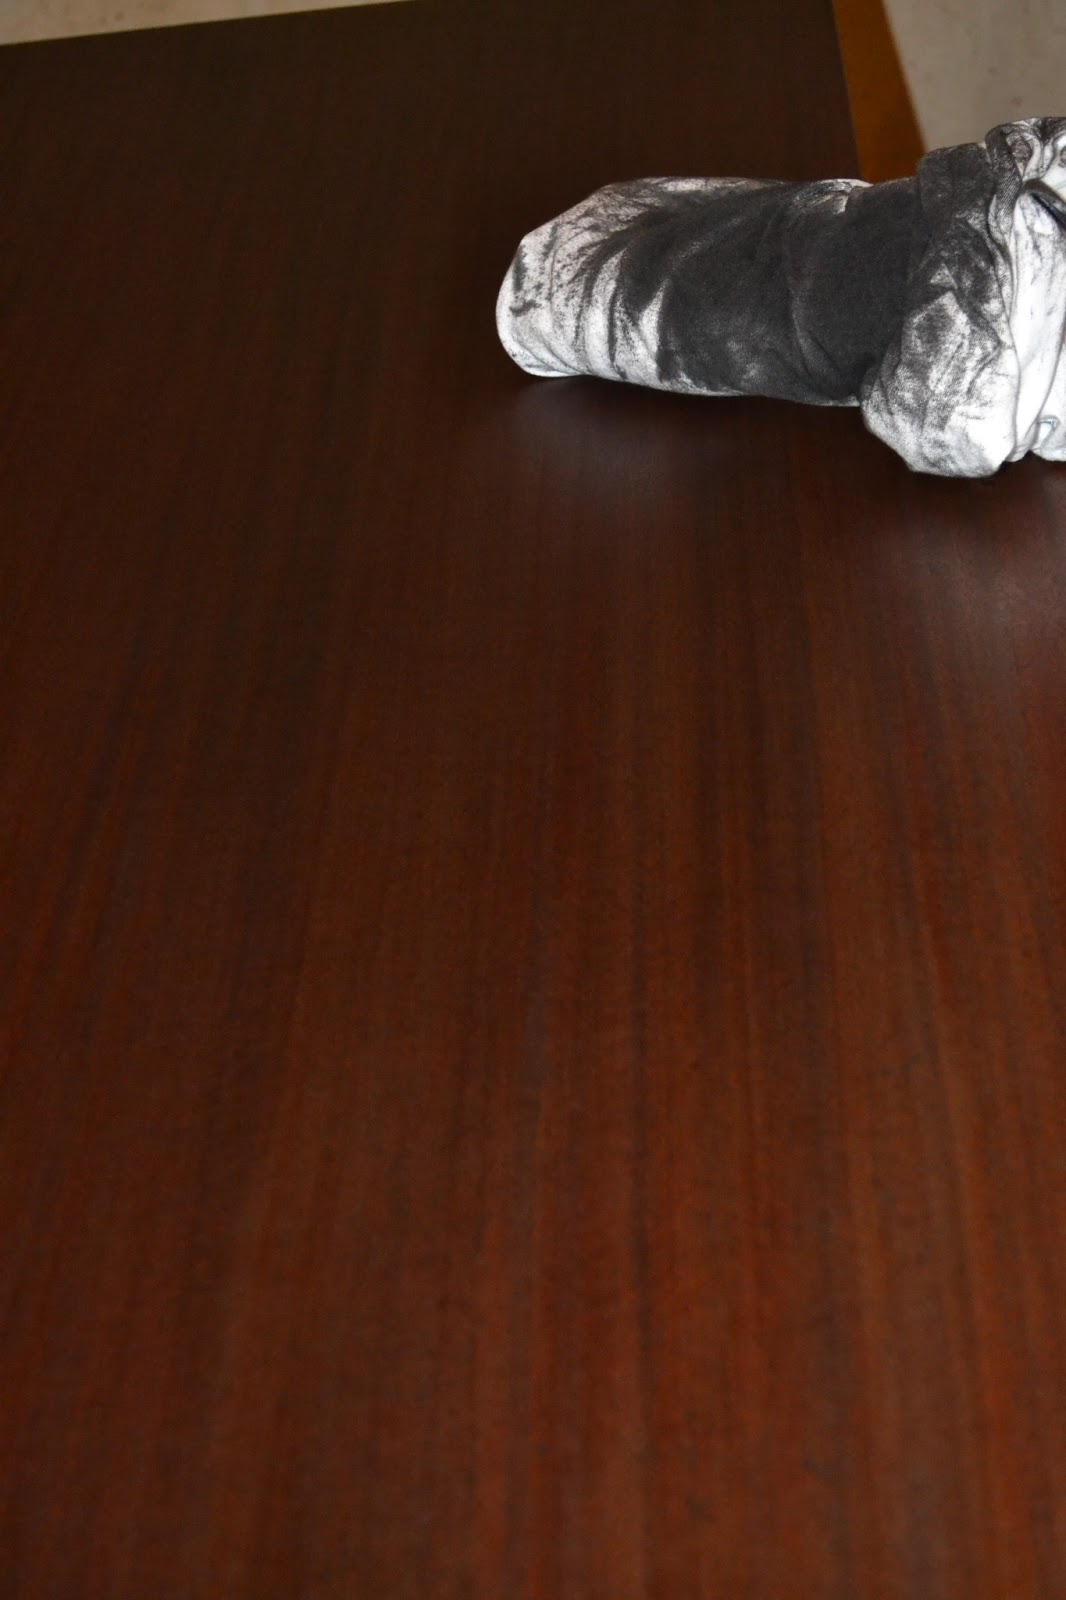
After scraping the gooey stuff off again and properly removing the residue using a product that cleans the wood of all the stripper AND preps it to receive the new stain. You can see the first coat of new stain below. Notice the cloth is almost black yet the wood is not black. I stripped it twice, cleaned it, sanded it, and prepped it to receive the new stain, yet again these older pieces still do have a mind of their own. You will not be able to "talk them into" being darker. Do not make the mistake of allowing too much stain on top of the wood as it will never dry and it will remain tacky forever. Wipe off the excess stain let it dry and try to apply another coat or two if you want a darker color, but be sure to wipe off the excess stain.
Now here is where my camera went up stairs and never returned to my basement project. So I apologize for skipping some pictures, I will get better at this Blog thing...don't worry.
After staining I left it dry as per the recommendations on the stain and the poly. I used a wipe on polyurethane for this buffet in a satin finish and I love the result. Crisp and clean and not fussy. The wipe on poly does take some time to figure out your technique and I would suggest trying out your skills on a piece of furniture that you can afford to make a few mistakes on before you tackle a piece you love.
After the top was complete and dry then I could move on to painting the rest of the base of the buffet and put a second coat on the drawers and doors. This piece also was lightly distressed on the edges to help keep it's timeless look.
The color pallet for this buffet is charming. Old white exterior base with a Cocoa interior behind the cabinet doors. All of the paint was then hand waxed to protect the finish. The very last step was to put on her new "jewelry" as I like to call it. These oil rubbed bronze pulls help to tie in the dark top with the light base beautifully. I just love the way she turned out! Don't you?
 |
| Before |
 |
| After |


Pretty awesome redo!
ReplyDeleteThank you!
ReplyDelete